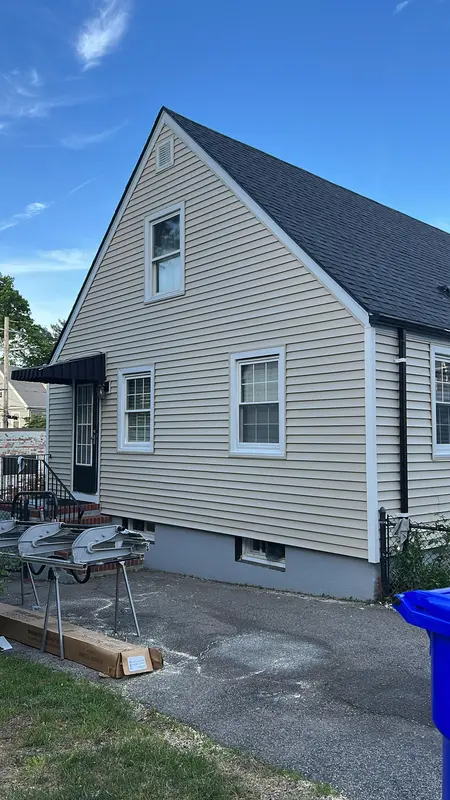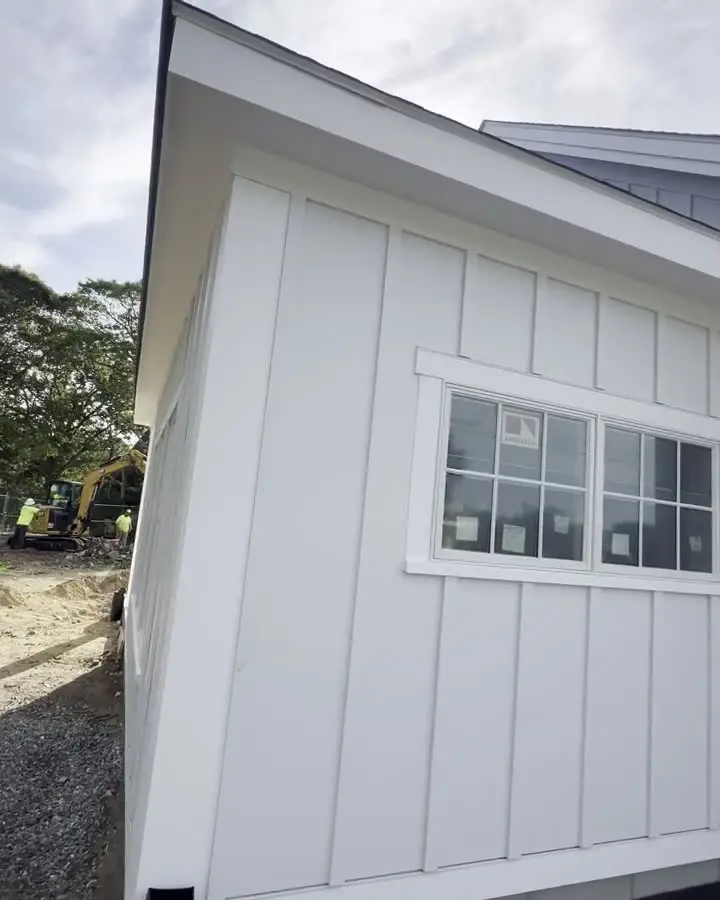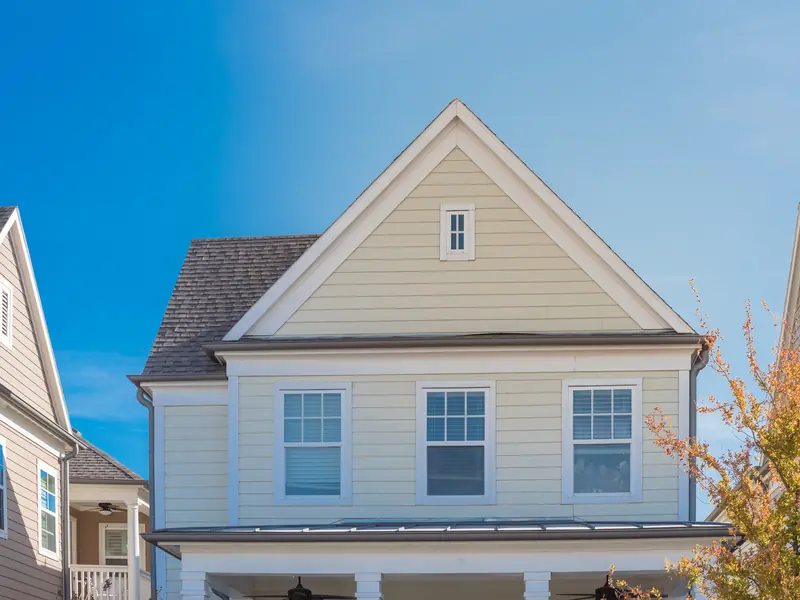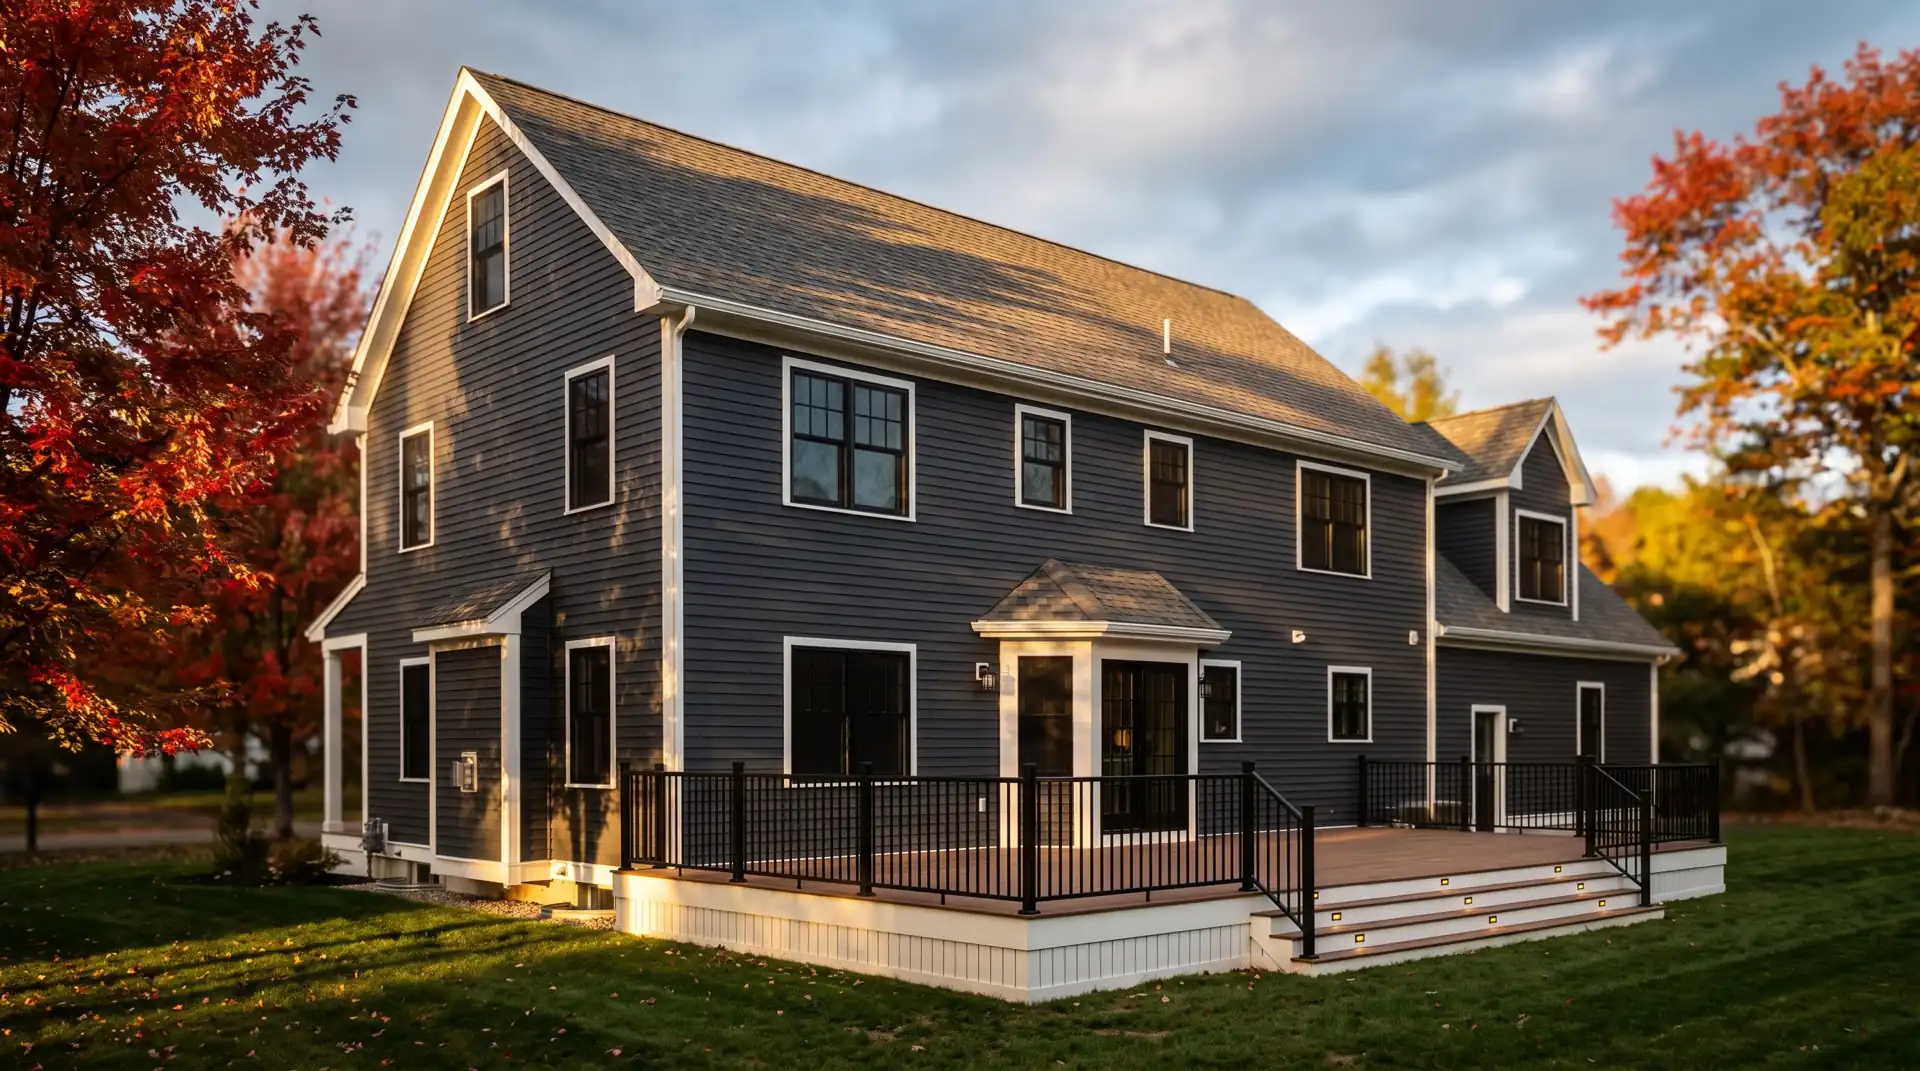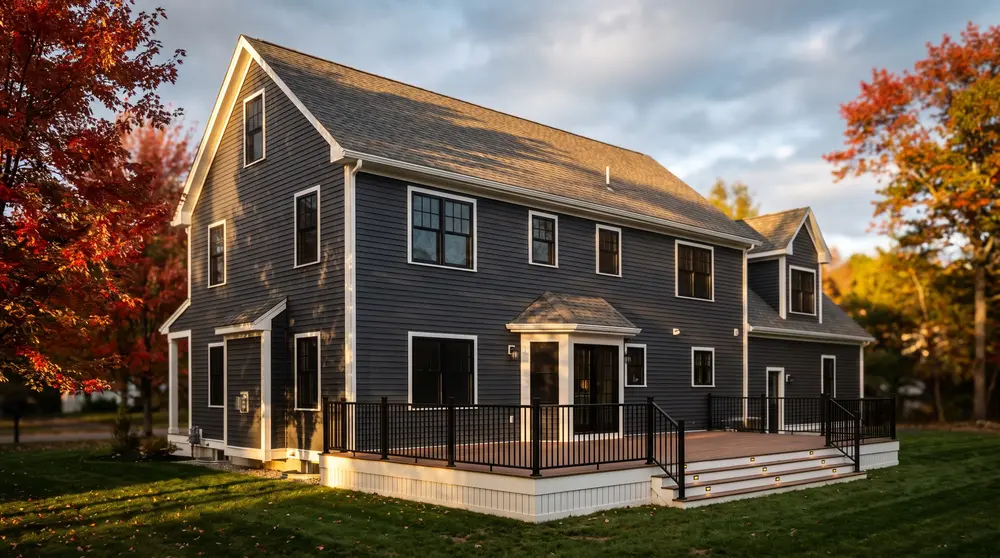

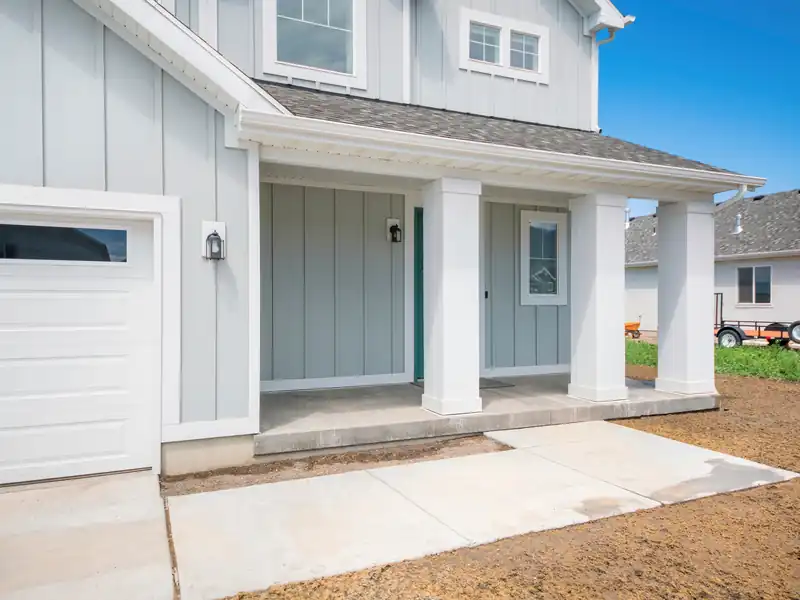
Board and batten is the vertical siding you see on farmhouses, barns and a lot of new builds around Massachusetts. Wide flat boards run up the wall, and narrow battens cover the seams. The look is clean and a little rustic. It works on a whole house, or as an accent on gables, dormers, entry bumps and garages where you want to break up a wall of horizontal lap siding. It also pairs well with stone veneer and black windows, which is why you see it on so many farmhouse remodels.
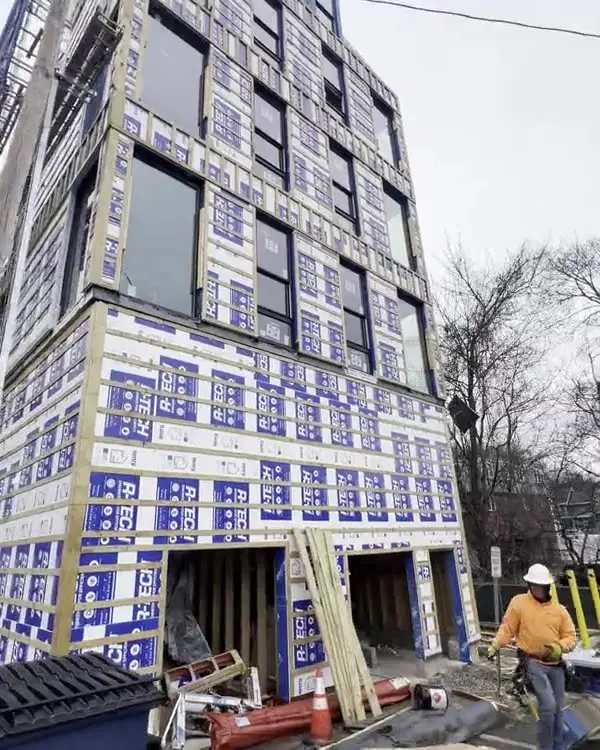
We install board and batten in two materials. Vinyl board and batten panels never need paint and are the lighter lift on your budget. James Hardie fiber cement panels with separate battens give you a heavier, painted-wood look with crisp edges. Both go over the same prep: tear-off, a sheathing inspection with photos, rotten boards replaced, DuPont Tyvek HomeWrap with taped seams, and flashing at every window and door. We'll bring samples of each to your free estimate so you can hold them up against your trim and roof.
Vertical siding is less forgiving than lap. Every batten lines up with every other batten, so a crooked wall or a sloppy layout shows from the street. Before the first panel goes up, we plan the spacing so your corners, windows and doors land on clean lines. We also check that your wall has solid nailing everywhere the manual calls for it, because vertical panels need more of it than lap siding does. Your written quote lists any furring we expect to add, line by line.
What's included
- Tear-off and disposal of old siding
- Sheathing photographed and inspected
- Rotten sheathing cut out and replaced
- Tyvek HomeWrap with taped seams
- Batten layout planned around openings
- Vinyl or James Hardie board and batten
- Flashing at windows, doors and joints
- Daily cleanup and magnet sweep
Signs it's time
- You want a farmhouse or modern look
- Gables or dormers look flat and plain
- Old vertical siding is cupped or split
- Painted wood boards keep peeling
- Adding a garage or addition that needs a match
How board and batten goes on the wall
Board and batten has two parts. The board is the wide, flat face, often 8 to 12 inches across. The batten is the narrow strip, usually 1 to 3 inches wide, that sits on top. Spacing the battens 12 or 16 inches apart is common. Wider spacing reads more rustic. Tighter spacing reads more modern. We mock up the spacing on your wall at the estimate so you can see it. We also plan where the panels start so you don't end up with a skinny sliver at a corner.
Vertical vinyl panels hang from the top in a J-channel and need nailing about every 12 inches up the wall. Plywood or OSB sheathing usually handles that, but older board sheathing or foam can need furring strips. At the bottom, the panels sit in a channel with weep holes so any water that gets behind them can drain out. We fasten each panel per the manual and keep nails centered in the slots so panels can move. Corners get outside corner posts sized for the panel.
Fiber cement board and batten comes as large panels nailed to the framing, with battens over the seams. Where one panel stacks on another, a Z-flashing at the horizontal joint sends water back out. Fiber cement needs paint every so often and stays stable in heat. Vinyl never needs paint but moves more, so its nails stay slightly loose in the slots. Popular board and batten lines include James Hardie in fiber cement, LP SmartSide in engineered wood, and CertainTeed, Mastic, Royal and Alside in vinyl. Tell us which one you want and we price that exact product, so you can compare apples to apples.
What happens behind your board and batten siding
You won't see most of this once the job is done. That's why we photograph it before we cover it.
- Substrate inspected and photographed before it's covered
- Every opening flashed so water gets directed back out
- Seams and laps of the weather barrier taped and sealed
- Fastening and clearances per the manufacturer's manual
- Soffit ventilation kept open, corners and returns sealed
- Site cleared and magnet swept at the end of every day